Back to article
3348
Replacing the ear cushions
The pads on the earcups of your headphones can be replaced if they wear down over time. Find out how to attach a new set of ear cushions to your headset to ensure the best acoustic seal and comfort.
Assembly instructions
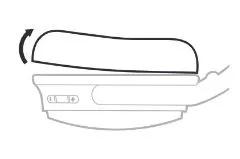
- Remove the earcup cushions
- Gently pull one area of one of the cushions away from the earcup until all ten tabs around the inside rim of the earcup and the tape strip on the mounting flange release.
- Repeat for the other cushion.
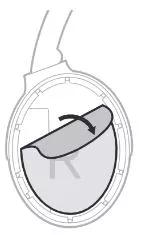
- Remove the scrims
- Grab one of the scrims at the top edge and gently peel it away.
CAUTION: Do not press down on or remove any other components inside the earcup as this could damage the headphones. - Repeat for the other scrim.
- Grab one of the scrims at the top edge and gently peel it away.
- Insert the new scrims
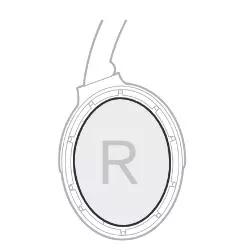
- On the back of the new scrim marked with an R, remove the paper backing from the two tape strips.
- Place the scrim inside the right earcup in the same position as the original.
TIP: The right earcup has a power switch on the back. The left earcup has an audio cable connector on the bottom. - Gently press down over the tape strips to secure the scrim.
CAUTION: Do not press on the center section of the scrim as this could damage the headphones. - Repeat for the other scrim.
- Attach the new earcup cushions
- Remove the paper backing from the tape strip on one of the new cushions.
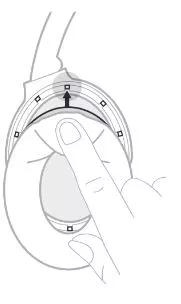
- Press the edge of the mounting flange against the edge of one of the earcups until it snaps in place under a tab.
- Continue pressing around the edge of the mounting flange until it snaps in place under all ten tabs. You will hear and feel a snap when the cushion is properly in place.
CAUTION: To ensure proper audio performance, all ten tabs must be secure on both cushions. - Gently press down over the entire circumference of the cushion for 30 seconds to secure.
- Repeat for the other cushion.
Was this article helpful?
Thank you for your feedback!


